How to Install an Air Compressor in Your Garage
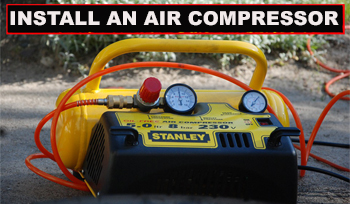
The popularity of the air compressor is closely linked to its application to most power tools. The installation of these devices in residential garages is relatively easy but most people have no clue of how to go about it.
Selection the type an air compressor
Table could not be displayed. Before an air compressor can be installed in a garage, it is important to first select the right type.The 5 important specifications of these devices are:
- Cubic feet per minute (cfm) – This is what determines the quantity of air that the compressor releases. The tools that will use the device are what determine the required cfm.
- Pounds per square inch (psi) – This refers to the pressure at which a compressor delivers air. In order for a compressor to fully cater for the user’s working needs, it must be above the optimum rating for the given set of tools. The average value is 90 psi. Psi rating must be read in conjunction with the cfm ratings.
- Horsepower – This is the motor output of the device, it is an indication of the overall power. Horsepower of an air compressor is directly proportional to the psi rating and the cfm rating. So, if a compressor has satisfactory cfm and psi ratings then its horsepower should be okay.
- Duty cycle – This refers to the length of time that the device runs prior to shutting down for cooling purposes.
- Tank volume – It is the quantity of compressed air that specific models of air compressors can hold. A big holding capacity translates to an easier time for the motor in usage cycles. It also helps significantly for those projects that frequently alternate between idle mode and active mode.
Installation an air compressor in your garage
After selecting a suitable air compressor and purchasing it, you can now install it in your garage.
The following are the compressive steps on how to achieve this:
- Choose a good area whereby the compressor can stand properly.
- Establish the quantity of room required for tool and work applications.
- Choose the fittings and hose lengths that are sufficient for the available attachments.
- Carefully put the compressor on top of isolator pads. This functions to lower noise vibrations and most importantly, to stabilize the machine. You should read the owner’s manual provided at time of purchase so as to acquaint yourself with the proper start-up procedure as well as the commission procedure.
- The device can now be powered up from a close outlet.
- Activate your pneumatic tools and start working.
Selection of a proper hose
If a hose is too long for the kind of work space in a garage, then air loss will be experienced between the tool tip and the compressor. A hose that is 50ft. long is usually ideal for most residential garages. This provides adequate length for the setup of any system, which might extend from your garage space to the backyard, living area or the driveway.
Filter
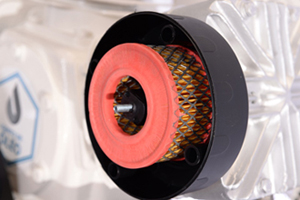
Dryer
The setup of these devices should be linked to an oil/water separator and air dryer. A short airline can be used to link the 2 devices.
The above insightful information should help you to successfully install it in your garage.

